How To Remove Black Mold From Drywall Safely
Learn how to remove black mold from drywall safely. This guide for landlords covers assessment, removal, replacement, & when to call a professional.

Black mold on drywall stops being a DIY cleaning project the moment it threatens habitability, tenant health, and your paper trail. For landlords, that line arrives fast. The EPA recommends professional intervention once drywall mold exceeds 10 square feet and notes that improper cleanup of larger areas correlates with a 40% higher rate of tenant health claims, while projected professional remediation costs average $1,000 to $20,000 per area in 2026 (EPA mold cleanup guidance).
That changes the question. It's not just how to remove black mold from drywall. It's how to remove it safely, prove you handled it correctly, and avoid turning one wet wall into a tenant dispute.
More Than a Stain The Landlord's Guide to Black Mold
A landlord can't treat black mold like a cosmetic defect. In most U.S. jurisdictions, landlords have a duty to maintain habitable premises, which means they're typically responsible for mold remediation when it comes from structural issues or water damage, and inadequate DIY cleanup can lead to tenant complaints, rent withholding, or habitability claims according to TurboTenant's discussion of mold on drywall.
That's why mold work has two tracks. One is physical remediation. The other is liability control. If you clean the stain but leave the wet wall, the tenant still has the same problem and you've made your defense weaker, not stronger.
Black mold usually refers to Stachybotrys chartarum. The term gets overused, and not every dark patch on drywall is that species, but the landlord response shouldn't rely on guessing. If the wall is damp, the growth is spreading, and the material is porous, treat it as a serious moisture-driven contamination issue until proven otherwise.
Why landlords get into trouble
Most mistakes happen because owners focus on the visible patch.
- They wipe instead of investigating. Mold is often the symptom. The leak, condensation problem, failed caulk line, or ventilation issue is the cause.
- They repaint too early. Paint hides staining. It doesn't remove embedded growth in drywall.
- They skip documentation. A tenant complaint six months later is much harder to answer if you have no photos, no readings, and no written record.
- They DIY past the point where DIY makes sense. Once the affected area is larger, penetrated, or tied to a larger moisture event, the risk changes.
Practical rule: If a mold problem started with water intrusion, manage it like a building defect first and a cleaning problem second.
A good landlord approach is boring and methodical. Measure the area. Find the moisture source. Decide whether the drywall can be cleaned or needs to be cut out. Document each step. Communicate with the tenant in writing. That's the difference between a controlled maintenance event and a dispute about habitability.
If you want the broader landlord perspective on obligations and response standards, this landlord mold guide for rental property issues is a useful companion to the hands-on cleanup process.
Health risk is what drives legal risk
Tenants don't file complaints because mold looks ugly. They file because they think the property is unsafe. That's what makes mold different from a scuffed wall or stained carpet. The health concern is what turns a maintenance call into a legal one.
For a landlord, the safest mindset is simple: remove the moisture, remove the damaged material if needed, and leave a record that shows you acted reasonably and promptly.
First Steps Assessing Mold Damage and Your Legal Risks
A landlord can turn a small mold complaint into an expensive habitability dispute in one visit. The risk usually comes from two mistakes. Disturbing contaminated drywall before sizing the job, and failing to document what was found and how it was handled.

Start with three questions. How large is the affected area. Is the drywall still structurally sound. What ongoing moisture source fed the growth. Those answers determine more than cleanup method. They affect whether a tenant can claim you ignored a health complaint, whether the unit stays occupied during repairs, and whether your file will hold up if the issue comes back later.
What to look for on the wall
Black mold on drywall usually appears as irregular spotting, staining, or clustered growth near moisture. Check around plumbing walls, window returns, exterior walls, under roof leaks, and behind furniture in rooms with weak airflow.
Use a basic field assessment:
| Condition | What it suggests | Landlord takeaway |
|---|---|---|
| Drywall is stained but still firm | Possible surface growth | Small-area cleanup may be reasonable |
| Drywall feels soft, crumbly, or swollen | Water damage and likely penetration | Plan to remove and replace material |
| Musty odor with limited visible staining | Hidden moisture or concealed growth | Open the area carefully or hire a pro |
| Growth extends across seams, trim, or insulation edges | Spread beyond one visible spot | Treat it as a broader remediation issue |
Do not try to identify species by color alone. For rental housing, the practical question is whether the material is contaminated and whether moisture is still active.
Measure and document before you disturb anything
Take wide shots first. Then take close-ups of the wall, ceiling line, baseboard, nearby plumbing, windows, or any sign that explains the moisture source. Save the tenant's original complaint, maintenance notes, and any text or email confirming when they first reported it.
Then measure the visible area and write it down. If the patch is near the common 10 square foot cutoff used in mold guidance, treat that as a warning, not a comfort point. What shows on the painted face is often smaller than what is inside the cavity or behind trim.
I tell new landlords to build the file before they build the containment. If a tenant later says the unit was unsafe for weeks, your timeline matters as much as the repair itself.
Create a simple incident log with:
- Date discovered
- Who reported it
- Room and wall location
- Visible dimensions
- Likely moisture source
- Photos taken
- Tenant communication sent
- Immediate action taken
If the moisture event may involve insurance, getting expert mold claim help can clarify whether the loss ties back to a covered water event and what documentation matters before demolition starts.
Find the moisture source before cleanup
Cleaning mold off drywall without fixing the water source is a short-term cosmetic job. Check supply lines, drain lines, tub and shower surrounds, roof penetrations, window leaks, condensate lines, blocked exhaust, HVAC imbalance, and exterior drainage. If you cannot explain why the wall got wet, do not close it back up.
The legal side matters here too. Tenants usually care less about the exact species than whether the unit was safe, whether you acted promptly, and whether you kept them informed. Review your obligations against landlord habitability standards for rental properties if there is any question about temporary relocation, repair timing, or written notice.
End the inspection with a clear decision. Small, dry, surface-level growth on sound drywall may be manageable in-house. Soft drywall, repeated water intrusion, hidden spread, occupant health complaints, or contamination tied to HVAC should go to a qualified remediation contractor. That choice protects the building, the tenant relationship, and your liability record.
Preparing for Removal Containment Safety and Tools
Most bad mold jobs go wrong before removal starts. Someone scrubs dry material, kicks up spores, walks debris through the unit, and turns one damaged wall into a cleanup problem for the room, the hall, and the HVAC return.

The CDC recommends a NIOSH-approved N95 respirator for black mold removal because it can reduce inhalation of Stachybotrys spores by 95%, and for mid-sized outbreaks of 10 to 30 square feet, professional containment methods such as negative air machines can cut spore spread by 98% compared with uncontained DIY efforts (CDC mold cleanup recommendations).
What you need before touching the wall
The minimum safe kit for a small, appropriate DIY job is straightforward:
- Respiratory protection. Use a NIOSH-approved N95 respirator.
- Eye protection. Wear sealed goggles, not open safety glasses.
- Gloves. Nitrile gloves hold up better than basic household gloves for wet cleanup.
- Disposable clothing layer. Tyvek-style coveralls are ideal if you're cutting material.
- Containment supplies. Use 6-mil plastic sheeting and painter's tape.
- Cleanup gear. HEPA vacuum, disposable rags, heavy-duty bags, and a moisture meter if you have one.
- Cutting tools. For drywall removal, an oscillating multi-tool or drywall saw gives more control than rough demolition.
If you're hiring help, use contractors who understand containment, disposal, and rebuild sequencing. This guide to hiring contractors for rental properties can help you vet the people doing the work.
How to contain the work area
Containment is what separates controlled remediation from casual demolition. Isolate the work zone with plastic sheeting. Seal door openings, registers, and return vents in the immediate area. Remove soft goods and anything porous that doesn't need to stay.
Then set up a simple work pattern:
- Clean zone outside containment
- Transition point for PPE and bagging
- Dirty work zone at the wall
Don't use a box fan to blast spores around the room. If you're venting air, direct it outward in a controlled way and only for a small contained setup. Once the affected area is bigger or the contamination is more than minor, negative air equipment belongs in professional hands.
Cleaning mold without containment is a good way to spread what you were trying to remove.
This walkthrough gives a useful visual reference before you cut into the wall:
Common prep mistakes that cost landlords money
A few mistakes show up over and over:
- No tenant communication. Tell the tenant what room is affected, what access you need, and whether they should avoid the area during work.
- No debris path. Plan how contaminated drywall leaves the unit before you start cutting.
- Wrong PPE. A dust mask from the garage isn't the same as a NIOSH-approved N95.
- Skipping moisture control. If the source is still wet, removal is premature.
Prep work feels slow. It's still cheaper than cross-contamination, callback repairs, or a tenant claiming the cleanup made the unit worse.
The Remediation Process Removing or Replacing Affected Drywall
Landlords usually want a simple answer to this problem: Scrub it or cut it out. On drywall, the right answer depends on whether the growth is only on a sealed surface or has penetrated the paper face and gypsum core.

When cleaning is actually appropriate
Small-area cleaning is the exception, not the rule. It makes sense only when the affected area is minor, the drywall surface is sealed or painted, the material is still sound, and the moisture source has already been corrected.
In that narrow case, use a HEPA vacuum first, then clean the surface with detergent and water or a diluted vinegar solution. Work gently. You're trying to lift growth off a finished surface, not grind it deeper or aerosolize it.
What doesn't work well is bleach on porous drywall. The problem is penetration. You may change the appearance of the stain without solving what's in the material.
A practical outside reference for landlords comparing methods is this roundup of tips for safe mold removal on drywall. It lines up with what field crews already know. Surface cleaning has a place, but only in limited conditions.
When cutting out drywall is the right call
If the drywall is unsealed, soft, swollen, musty after cleaning, or visibly penetrated, remove it. That's the standard professional approach. For penetrated drywall, the common protocol is to cut 12 to 16 inches beyond visible growth, then treat the exposed studs with a biocide such as a 10% vinegar solution or an EPA-registered product. If you skip that step or fail to dry the area below 16% moisture content, recurrence rates reach 70% according to the referenced remediation protocol (technical remediation walkthrough).
Use a controlled sequence:
- Mark your cut line beyond the visible damage.
- Score the painted face first with a utility knife.
- Use an oscillating multi-tool or drywall saw to cut clean sections.
- Remove the piece carefully and bag it immediately.
- Double-bag debris before moving it through the property.
A few technical habits matter here.
- Cut larger, cleaner sections instead of hacking the wall apart. That reduces loose debris.
- Don't sand moldy drywall. Sanding spreads contamination.
- Avoid smashing fasteners out by force. Controlled cuts make less mess and protect nearby finishes.
If the paper face is compromised and the core got wet, replacement is usually the cheaper fix compared with repeated cleanup attempts.
How to clean the framing and cavity
Once the drywall is out, inspect the cavity. If insulation is wet or contaminated, remove it. Then HEPA-vacuum the cavity and framing. After that, treat the studs and surrounding hard surfaces with the chosen biocide.
Let the treatment dwell as directed, then wipe down surfaces and dry the area thoroughly. Air movement and dehumidification matter more here than aggressive chemical use. The rebuild shouldn't start until the cavity is dry and the moisture source is resolved.
A short checklist helps keep this part tight:
- Inspect the framing for staining, softness, and active moisture
- Vacuum first with a HEPA unit before wet treatment
- Treat hard surfaces with the selected antimicrobial or vinegar solution
- Dry completely before insulation or new board goes back
- Recheck the source so you don't seal a wet cavity behind fresh drywall
What works versus what fails
Landlords save money when they choose the right method early.
| Approach | Works when | Usually fails when |
|---|---|---|
| Surface cleaning | Sealed drywall, minor superficial growth, moisture fixed | Unsealed board, soft paper, recurring dampness |
| Spot painting | Almost never as remediation | Any active or embedded mold condition |
| Partial demolition with containment | Localized penetrated damage | Hidden spread extends beyond opening |
| Full professional remediation | Larger areas, uncertainty, tenant sensitivity, HVAC involvement | Not a failure case. It's often the right escalation |
The important trade-off is this: small, justified DIY work can be reasonable. Repeated DIY on the same wall is usually proof that the first approach was wrong.
Post-Remediation Finishing Documentation and Prevention
Once the cavity is clean and dry, the job shifts from remediation to restoration. At this point, landlords either close the loop properly or leave behind enough uncertainty for the next complaint.
Finish the wall the right way
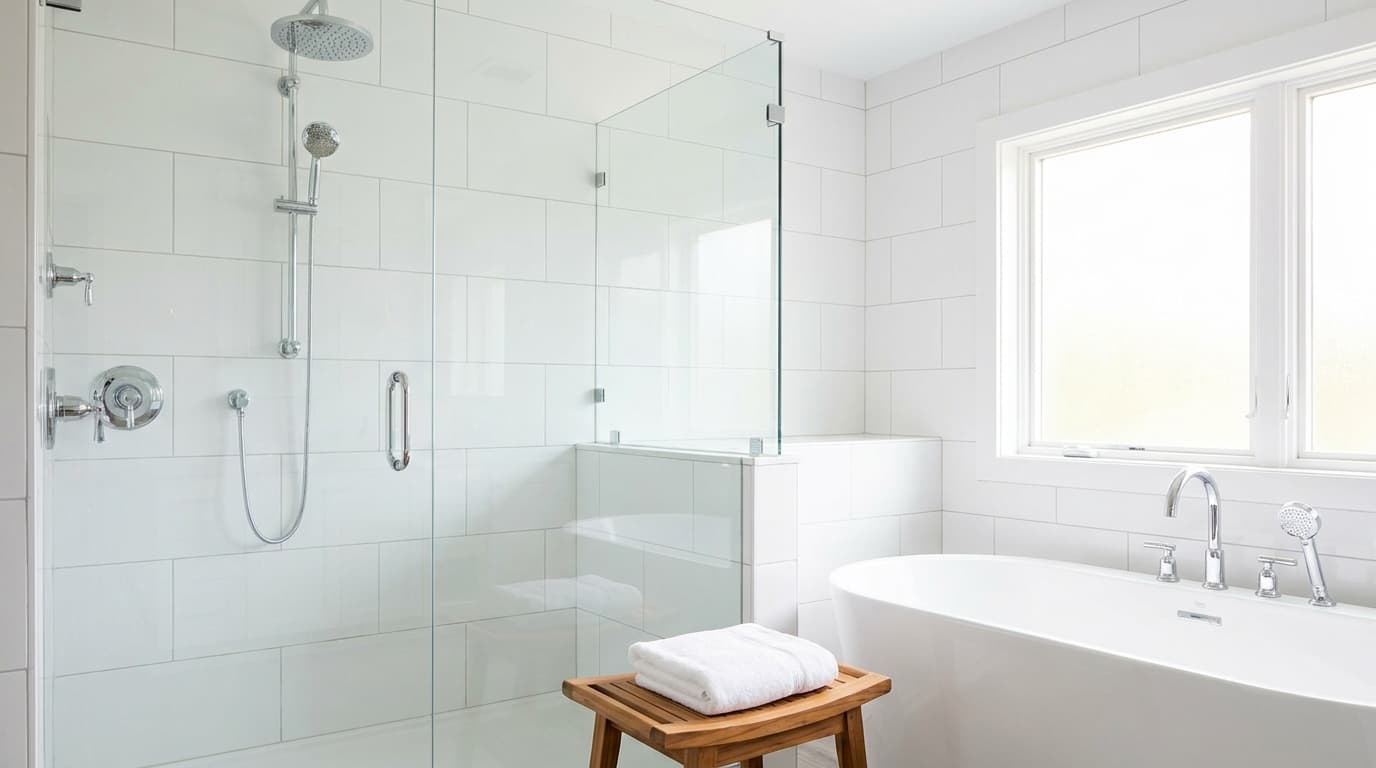
Replace removed sections with properly fitted drywall. In higher-risk areas such as bathrooms, laundry areas, and damp lower levels, mold-resistant drywall can make sense. Finish the joints cleanly, prime appropriately, and paint only after the wall is dry and stable.

Don't rush cosmetic closure. If there's still dampness in the framing or unresolved condensation in the room, new materials will only hide the same problem temporarily.
Build the file before a tenant asks for it
For landlords, the documentation matters almost as much as the repair. Keep a file with:
- Before and after photos showing the visible damage and completed repair
- Written notes on the moisture source and how it was corrected
- Receipts and invoices for materials, labor, disposal, and equipment
- Tenant communication confirming access, timing, and completion
- Inspection notes if a contractor or specialist evaluated the space
This record protects you if the tenant later claims you ignored the problem or handled it carelessly. It also helps if the issue reappears and you need to prove whether the cause changed.
The best mold file answers three questions fast: what was wet, what was removed, and how was the moisture problem fixed?
If you want an added indoor-air layer in a problem-prone unit after repairs, some landlords also look at targeted filtration options such as mold air purifiers. They're not a substitute for remediation, but they can be part of a broader air-quality strategy in damp buildings.
Prevent the next mold call
Prevention is maintenance discipline. Fixing water leaks within 24 to 48 hours can cut mold growth risk by 85%, and tenant education around bathroom fans, humidity reporting, HVAC inspections, and gutter cleaning addresses root causes behind the claim that 50% of U.S. homes have some mold growth as stated in the referenced prevention guidance (preventive mold maintenance guidance).
For a small landlord, that means setting a repeatable standard:
- Check bathrooms for failed caulk and poor exhaust performance.
- Inspect under sinks and around supply lines.
- Keep gutters and downspouts moving water away from the structure.
- Service HVAC systems on schedule.
- Tell tenants to report damp drywall, musty odors, and recurring condensation early.
Mold prevention isn't glamorous. It's leak response, airflow, and follow-up. That's what keeps one maintenance ticket from becoming a vacancy problem.
Landlord Mold FAQ Common Questions Answered
Can I just paint over black mold on drywall?
No. Paint covers staining. It doesn't remove contamination or fix moisture. If the drywall is affected beyond a minor sealed-surface condition, painting over it traps the problem and usually leads to a callback.
How do I know if it's mildew or mold that needs drywall removal?
Look at the material, not just the color. If the drywall is soft, swollen, crumbly, or musty, think replacement. If the growth is minor and sitting on a sealed painted surface with no damage to the board, cleaning may be possible.
What's the real landlord decision point for DIY versus hiring a pro?
Use the EPA threshold as your hard stop. Once the affected area exceeds 10 square feet, the recommended move is professional intervention. Even below that line, hidden spread, tenant health concerns, or uncertainty about the moisture source can make professional work the smarter call.
What does professional remediation cost?
Projected professional wall remediation costs average $1,000 to $20,000 per area in 2026, while drywall repair alone averages $300 to $825 according to the EPA-linked verified data already noted earlier. The cheaper number only applies when you're dealing with repair, not full contamination control.
Does bleach solve black mold in drywall?
Usually not. Drywall is porous. Bleach may affect the surface appearance without reaching embedded growth. For penetrated drywall, removal is the more reliable fix.
Do I need to move the tenant out during repairs?
That depends on the size of the affected area, where the work is happening, and whether the unit remains safely usable during containment and drying. For a small isolated area, relocation may not be necessary. For larger remediation, especially if a bathroom or bedroom is involved, get legal guidance for your jurisdiction and communicate clearly in writing.
What's the biggest mistake new landlords make?
They treat mold as a stain instead of a moisture event with liability attached. That leads to rushed cleaning, weak documentation, and repeat failures.
If you manage rentals yourself, VerticalRent helps you document maintenance issues, track tenant communication, dispatch vendors, and keep clean records for repairs, expenses, and compliance. For mold problems, that kind of paper trail matters almost as much as the repair itself.
Legal Disclaimer
VerticalRent and its authors are not attorneys, CPAs, or licensed legal or financial advisors, and nothing on this site constitutes legal, tax, or professional advice. The information in this article is provided for general educational purposes only. Landlord-tenant laws, eviction procedures, security deposit rules, and tax regulations vary significantly by state, county, and municipality — and change frequently. Nothing on this site creates an attorney-client relationship. Always consult a licensed attorney or qualified professional in your jurisdiction before taking any action based on information you read here.
Co-founded VerticalRent in 2011, growing it from nothing to 100k landlords and renters. Sold it in 2019, then re-acquired it in 2026 to make it better than ever.


